What You Should Know About the 4 Stages of Injection Molding
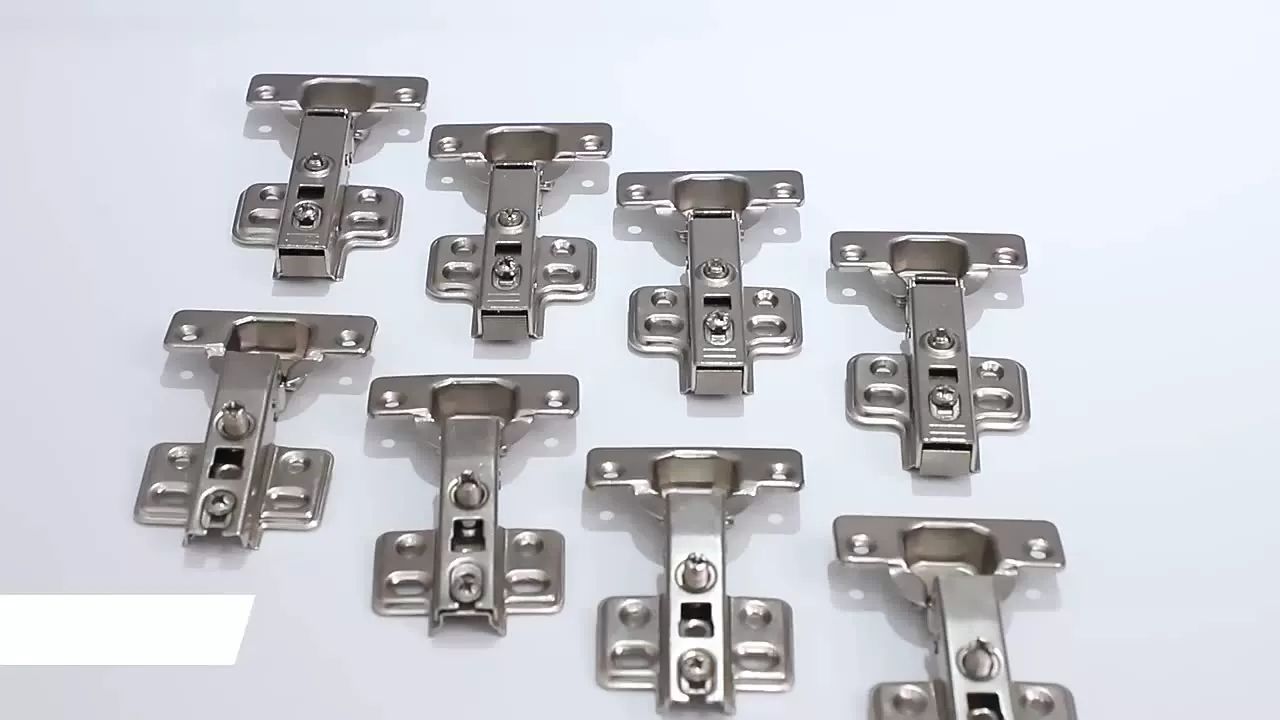
Rapid injection molds are prototypes made in a thermostatic resin within 2 to 4 weeks. The process is quick. Injection molding, on the other hand, deals with the process of injecting a high-pressure polymer into a mold. This allows the mold to get into a particular shape that the designers intended.
Typically, there are four main stages of injection molding - injection, clamping, ejection, and cooling. Follow through in this article to see how they are explained below:
Four stages of injection molding
1. Injection
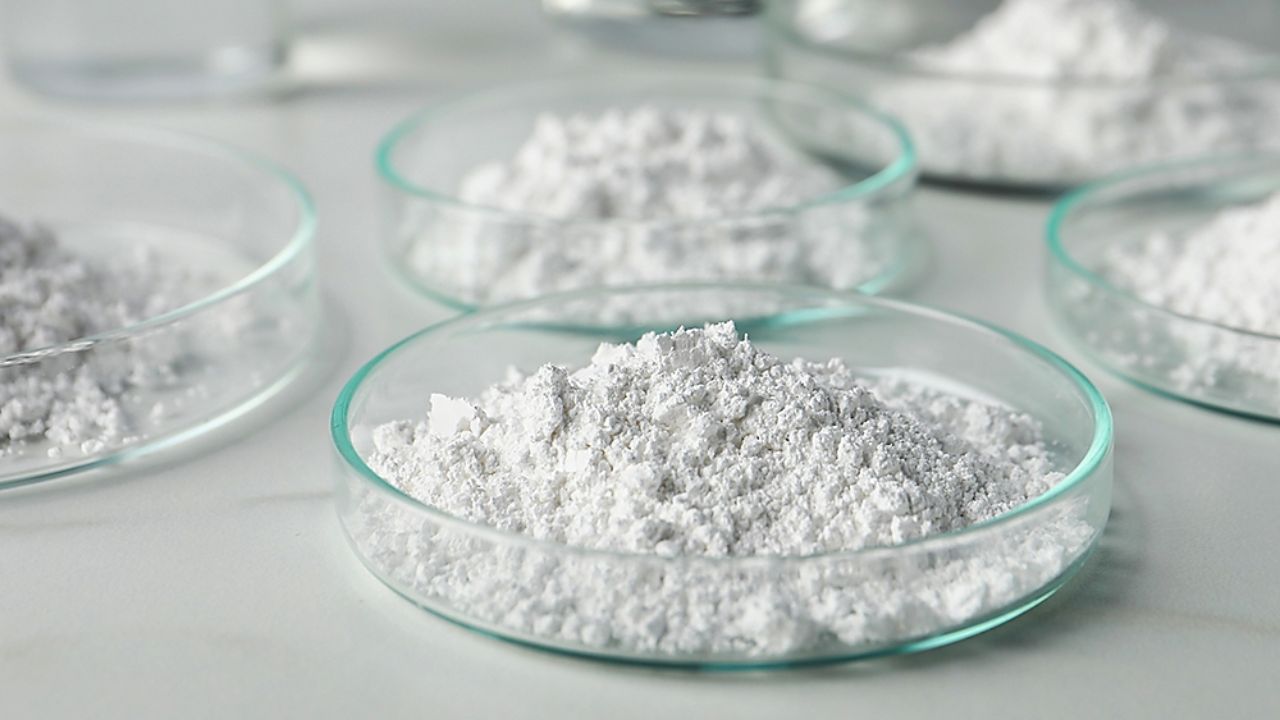
Here, plastic pellets are poured into an injection molding machine through a hopper. Through the injection unit, the pellets are moved to the molds.
The heat and pressure which surrounds the barrels serve pressure and melt the pellets.
The injected material’s volume is known as a shot, and the injection period lasts until 95% to 99% or whenever the mold is filled. It is difficult to calculate the exact time the injection consumes because the plastic’s flow keeps changing as it’s dynamic.
However, you can estimate the injection time using other factors like injection power, shot, and pressure-volume. The Pressure volume of the injection can gall between 35 to 140MPa. But, the machine’s hydraulic system can determine the rate at which the pressure is determined and controlled.
2. Clamping
In this stage, you’re expected to close the halves of the mold before you begin to inject it with the material. How do you close them? Through the clamping unit.
The two halves are attached to the injection molding machine. Then, the material is injected as soon as the clamping units start to push the two halves together and “clamp” them tightly as the material is being injected.
Note, bigger machines with higher clamping strength take a longer time to close and also clamp the mold.
3. Cooling
The cooling stage deals with when the plastic in the mold is starting to cool as soon as it contacts the interior mold.
After the plastic cools, it starts to take your preferred shape when it gets hard. During cooling, you should expect the part to slightly shrink. However, it will open back as soon as the cooling period elapses.
How do you estimate the cooling time? By paying attention to the thickness of the mold and also, the thermodynamic components of the plastic.
4. Ejection
The ejection stage is the last of the injection molding cycle. In this stage, the ejection system is used to push out the mold when it opens up.
Note, you must apply force as the shrunken part tends to stick to the mold. After ejection, you can shut the mold again and inject another shot to begin the process again.
Conclusion
When it comes to determining the overall quality of a completed product, you must use a mold design as the key determining factor. The type of mold applied can determine the durability, shape, and size of the product. This piece shows how you can apply the different stages of injection molding to complete your desired design!